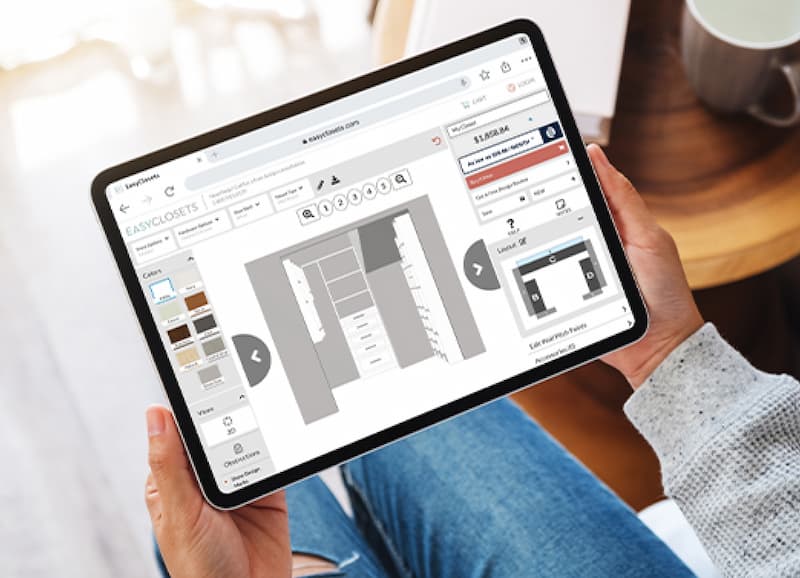
Design Your Dream Space
Use our free, easy-to-use design tool to complete your design in minutes.
When people find out that EasyClosets is a DIY product, they often ask us, “Is it difficult to install?” And our answer is: of course not! Would we really call ourselves EasyClosets if we couldn’t deliver on that? To understand just how easy it is, read our Inspired Organization Helpful How-To series for simplified explanations about our design and installation process!

The steel track an important component in your order because it acts as the foundation of a hanging system. Various other components in the closet hang off of this track, so you want to make sure it’s installed right. Now, just because it’s an important part of your closet system doesn’t mean it’s terribly complicated to install. Wondering just how easy it is to install the track for your new gorgeous closet? Read on for a break-down of the closet track installation steps!
Determine your track height.
To determine where your track needs to hang, make a pencil mark at the very top of where your vertical panels will reach. Now measure 8 ¼” below that previous pencil mark and make another mark. This lower mark is the height at which your track will hang.
Level the track height.
Using a leveler tool, draw a horizontal line from the track height mark you made in the previous step. We can’t say it enough – make sure this line is absolutely level!
Locate the studs.
Locate the studs by using a stud finder or by tapping on the wall and listening. Make a pencil mark where the stud is located. Measure over 16” and mark these stud locations as well.
Mark vertical panel locations.
Refer to your custom design and mark where each vertical panel will hang.
Cut track to size.
Subtract ¼” from the track length for each finished end panel. Cut track to appropriate size using a hacksaw. If cutting on carpet, place a piece of cardboard underneath the track to avoid damage to your carpets.
Anchor track.
Hold your track up to the track height line you made earlier and drive screws into the track at stud locations. We recommend two screws per stud.
Ta-da, it’s that easy! But remember, this overview is by no means meant to replace the full in-depth instruction manual. When installing the track and the rest of the system, please consult the instruction manual provided with your order. You can also read the full instructions here, and of course our customer service team is standing by to help if you have any questions during your install process.
Design Your Dream Space
Use our free, easy-to-use design tool to complete your design in minutes.


