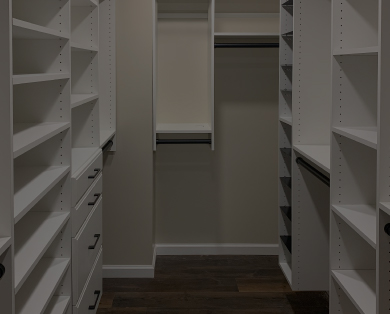
Designing a Pantry: Step 1 - Layout
What you learned:
Laying out your space:
- Indicate whether you are designing a walk-in or reach-in pantry when you select “Start Designing.” In this example, we will lay out a walk-in pantry.
- Then select “Enter Your Dimensions.”
- Choose an overhead walk-in pantry layout from the left-hand panel in the “Start Designing Your Space” window.
- Type your measurements into the spaces provided in the “Enter Measurements” step.
- Once you are finished, click “Save & Continue.”
- Next, on the “Start Designing Your Space” page, click “Auto Layout Areas” OR add walls where there are plus signs (+) indicated. Click on the (+) signs next to the walls where you would like to add organization product.
- Take note of the “Layout Tips” and familiarize yourself with the meaning of the light and dark colors in the layout.
- Finally, select your preferred Unit Mount Type and Top Shelf Height.
- Click “Save & Close.”
Want to keep learning how to design a pantry? Be sure to watch the next video to understand more about adjusting and personalizing your design.


